
Put on the moissanite pendant first, with the top or dress you plan to wear. Set it where you want the stone to land, then add a second chain whose lowest point clears the pendant and its bail when you move. A plain upper chain and a pendant below are a forgiving starting pair. The right spacing is the gap you can actually see on your neck after you sit down, turn your head and put your jacket on.
A pair of necklaces can look beautifully separated on a display stand and sit almost on top of one another on a person. A stand doesn’t breathe, move or wear a collar. It also cannot show you whether two clasps migrate to the same side of your neck over lunch. You can learn more from trying the pair with one familiar shirt for five minutes than from comparing a dozen isolated product shots.
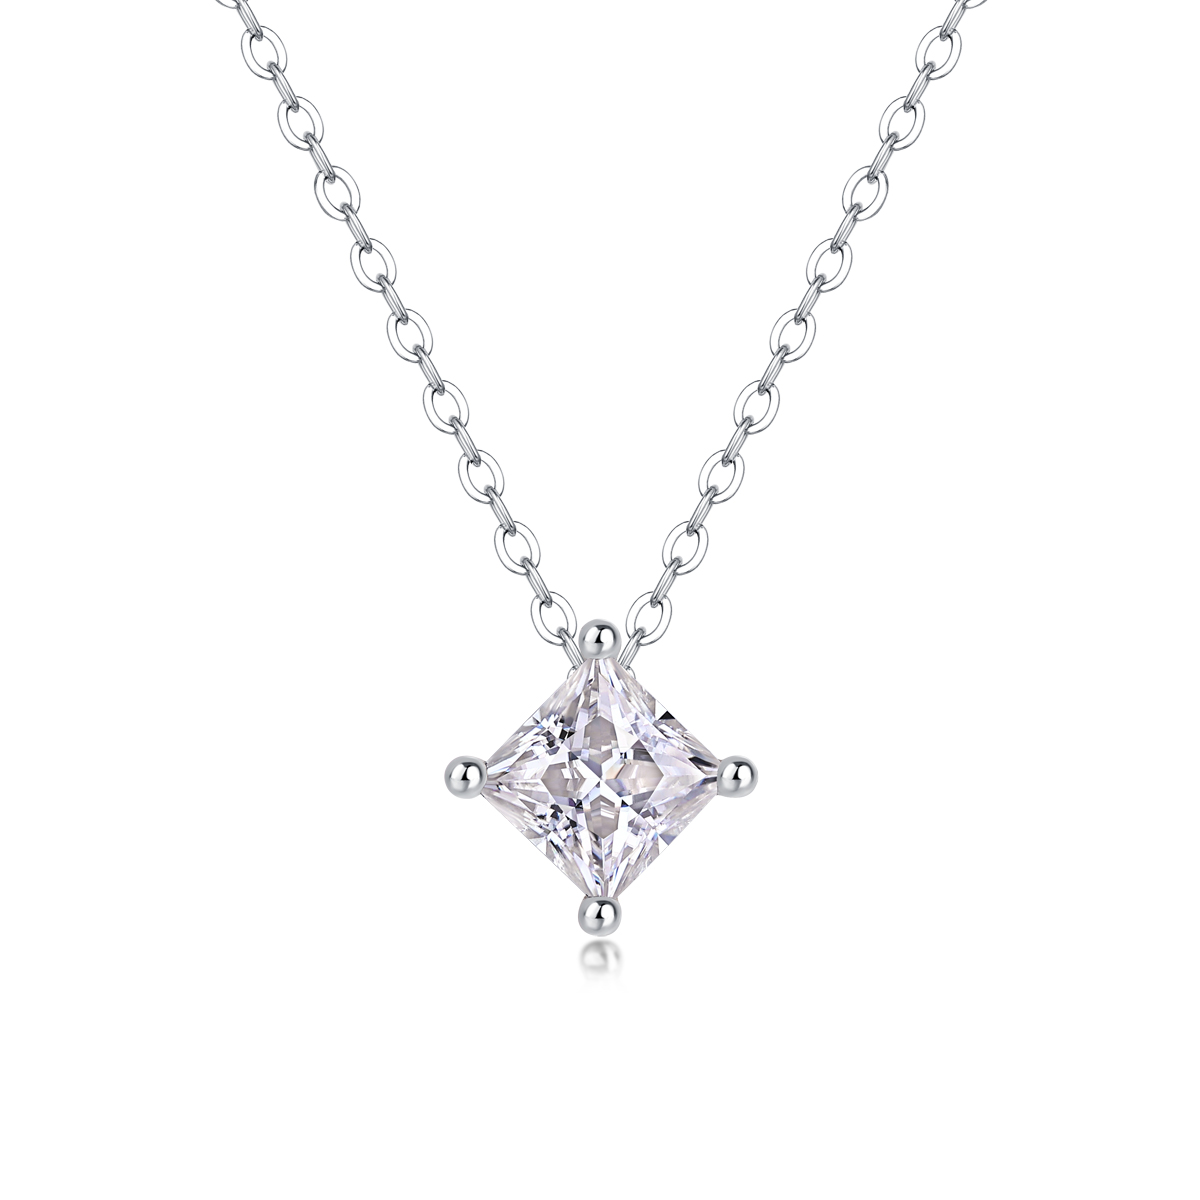
Start with the necklace you want people to notice
Think of the last outfit in which you wore your pendant on its own. Perhaps the stone sat just below the hollow of your throat above a square neckline. Perhaps you liked it lower, against a plain dark sweater. Put that combination back on and take a photograph at conversation distance. The image gives you a useful reference for the next decision. If the added chain makes a favorite pendant less visible, you can compare the two photographs and see what changed.
For a small solitaire, try a fine upper chain with a different surface texture. A pattern of little flat reflections may give the chain its own identity while leaving the bright point below clearly visible. For a halo or larger pendant, try a quieter companion first. You are looking for two recognizable outlines in the mirror. If both pieces sit at the same level and their edges blend, buying a heavier chain will usually add more detail to the area that already feels crowded.
A pendant does not have to be the lower layer. A short necklace with a fixed station can sit beautifully above a longer plain chain, particularly with a high neckline that gives both pieces an even background. A pendant on a freely sliding bail behaves differently from a station attached at both sides. The former can slide while the latter follows the chain. Before borrowing a styling idea from a photograph, check how your own centerpiece is attached.
Measure the drop on your body
Chain length is measured along the necklace. Visible drop is the distance down your chest at which the lowest point sits. Adding two inches to a chain does not move a pendant two inches lower on the body. Some of that extra length lies on each side of the neck, and the curve changes as you wear it. The pendant itself extends below that curve. Look at both its top edge and its bottom tip when deciding where a second necklace should fall.
Use an existing adjustable chain as a fitting tool. Fasten it at its shortest usable point, try it above the pendant, then move it one adjustment at a time. Take front photographs with the phone at the same height. Once you find a position you like, remove the chain and measure its usable length between the fastening points. Write down the exact setting, including which extension ring you used. That measurement is a much better shopping reference than simply knowing that you like short necklaces.
If you are starting from two fixed lengths, use our 16- and 18-inch necklace comparison to choose a starting position. Then look at the gap between the bottom of the shorter layer and the highest visible part of the lower pendant. This small patch of bare skin or fabric is what makes the outlines legible. Someone with a longer pendant may need a different arrangement from someone wearing a compact stone on the same chain lengths.
| Pairing | Try this position | Check in motion |
|---|---|---|
| Solitaire and fine chain | Plain chain above the pendant | Upper chain clears the bail |
| Small station and long chain | Station above the plain loop | Long chain stays on one side of the neckline |
| Two pendants | Compact outline first | Pieces stay clear when you lean forward |
Let the neckline decide where the pair ends
With a V-neck, try placing both pieces inside the opening first. A pendant at the point of the V can look precise when you are standing, yet disappear beneath the fabric as soon as you sit down. Move it a little farther inside the opening or clearly below the edge, depending on the look you want. A small adjustment that keeps the pendant on one background throughout dinner can matter more than a perfectly symmetrical gap in the mirror.
A crewneck gives you another choice. One layer can sit on skin and the other on fabric, or both can sit on the same side of the collar. The awkward position is often a stone balanced directly on the seam. Walk a few steps and see whether the pendant keeps crossing that edge. If it does, change the working length or use a different chain with the same pendant, provided the bail and chain end fit one another.
For an open shirt, inspect the pair with the collar in its ordinary position. A stiff collar can push a short chain forward or cover one side of a longer chain. Turn to speak to someone beside you and see whether the pendant is still centered when you turn back. A slightly asymmetrical drape can look relaxed and attractive. Having to reach into your collar to find the pendant every few minutes is a reason to try a different length.
Diagnose crossings and traveling clasps
If the chains cross, first wear each one by itself. Watch whether one clasp already moves to the front during ordinary wear. Look at whether the pendant hangs freely or gets held at the neckline. That brief trial tells you whether the second layer introduced the problem. A single chain that keeps catching on a shirt seam will probably still catch after you add another necklace, even if you fasten the two clasps to a common connector.
Lay the necklaces separately on a flat surface and close them as they would be worn. Smooth out twists gently along each chain, then put them on one at a time. Look behind your neck as well as in front. Two long unused extender tails may wind around each other while the visible fronts remain well spaced. Choose a different adjustment or a fitted fixed length if the tails repeatedly meet. Keep the fastening secure and avoid cutting or modifying the chain yourself.
A multi-strand clasp or separator may make two necklaces easier to put on together. It introduces another fitting, changes the working lengths and may feel bulky under a collar. Try it with the actual pieces and check the closures in good light before wearing it out. If tangling tends to happen only in transit, focus on packing first. Our necklace packing guide explains how to keep the chains separate between wears.
Build a pair around one familiar pendant
Consider a shopper with an 18-inch round moissanite solitaire, a fine 16-inch plain chain and a collared linen shirt. She likes the two-inch difference when she lays the necklaces on a table. On her neck the shorter chain clears the pendant, but the pendant lands just inside the first closed button. When she sits down, the placket covers the stone. The first thing to change is where the pendant falls relative to the shirt. A wider upper chain would leave that problem untouched.
With an adjustable lower necklace she can try a shorter setting, then reassess the upper chain. If the two fronts become too close, she can instead try wearing the original pair with an open neckline. She might also wear the solitaire alone with the linen shirt and save the layered combination for a sweater. All three options use pieces she already owns. The photographs tell her whether purchasing a different length would actually fill a gap in her wardrobe.
When shopping for moissanite necklaces, ask for the wearable length range, overall pendant drop including the bail, and whether the pendant comes off the supplied chain. A removable pendant gives you more options only when the replacement chain end passes through the opening. Our pendant chain guide covers that detail. A photo of the two intended necklaces together, with the fastening positions identified, is especially helpful when buying remotely.
Frequently asked questions
How far apart should my two necklaces sit?
Aim for enough visible space to see the complete outline of each piece when you are standing and seated. Test the gap on the outfit you plan to wear. A narrow plain chain above a large pendant can need a different spacing from two small stations, even when all four necklaces have familiar lengths.
Can I combine silver and gold colors in the same layers?
Yes. Try the combination in daylight with the earrings or rings you usually wear. A distinct difference in color can make the two lines easier to recognize. If a warm chain against a cool pendant seems distracting, keep the pendant and its own chain together and use the second color on the separate layer.
Can both necklaces have pendants?
They can, especially if the shapes are easy to distinguish. Start with one smaller or more compact shape above the other. Turn and lean forward to check whether the upper pendant lands on the lower setting. If the pieces strike one another repeatedly, increase the separation or choose a plain upper chain.
Why do the chains look farther apart on the model?
The model may use a different extender position, neck size, posture or neckline. A photo taken with the shoulders drawn back can change how a pair sits. Ask which chain lengths were worn and whether the stylist clipped either chain at the back. Recreate those working lengths with your own pieces before ordering.
Is a pre-layered necklace easier to wear?
A joined design can make the intended arrangement quicker to fasten, and its strands may be designed to sit together. Check the usable length, how far the strands separate and whether you want to wear them individually. Independent necklaces give you more ways to adapt one outfit or replace a single piece.
How do I choose two necklaces as a gift?
Begin with a necklace the recipient already wears, including the fastening position and where the pendant falls. Use that piece to select one complementary layer. If you cannot measure it, favor a clearly documented adjustment range and check exchange terms. Two identical-looking catalog photos give you little information about the actual fit of the pair.