
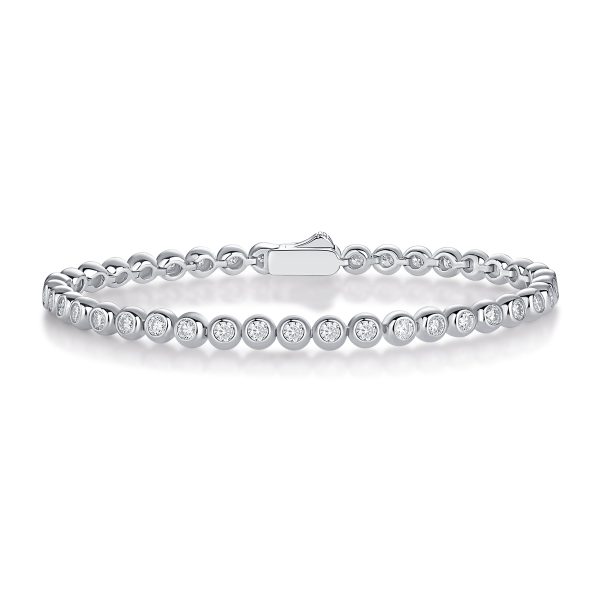
Choose a 2mm moissanite tennis bracelet for a fine line of sparkle, 3mm for a versatile everyday look, 4mm for a more visible standalone piece, or 5mm for a statement bracelet. Those are starting points. The bracelet’s finished width, setting height, and fit can change how each size looks and feels on your wrist.
What the millimeter number means
For a bracelet with round stones, a 3mm specification usually describes the diameter of each stone. Finished bracelet width is a separate measurement. Prongs, bezels, and the metal between stones can add width beyond the diameter. A 3mm bezel-set bracelet can therefore look wider than a 3mm design with a more open setting. For square or rectangular stones, confirm both dimensions and which side is used in the listing.
Bracelet length tells you how far the piece wraps around your wrist. Stone size tells you how large each stone looks. Total carat weight describes a combined weight or, when the seller specifies diamond equivalent weight, a comparison with diamonds. Two bracelets can have the same stone diameter and different totals because they use different numbers of stones. Ask for the three measurements separately when comparing models.
Compare 2mm, 3mm, 4mm, and 5mm
| Stone diameter | Visual effect | What to compare |
|---|---|---|
| 2mm | Fine, understated line | Clasp size and ease of handling |
| 3mm | Visible sparkle in a slim profile | How it sits next to your usual watch or bracelet |
| 4mm | More individual stones visible at a glance | Setting height and movement around the wrist |
| 5mm | Bold, distinct line of stones | Finished width, weight, and clasp comfort |
2mm for a subtle stack
A 2mm row makes sense if your watch, bangle, or other bracelet is already the focus. It can add a narrow line of light without filling much wrist space. Check how easy it is to close the clasp with one hand. A fine bracelet can still have a clasp that is wider than its stone row, and that difference can affect how it layers.
3mm for everyday versatility
A 3mm bracelet is a useful size to try first if you expect to wear the same piece alone and in a stack. Compare it beside the watch or bracelet you actually wear. A photo of the two pieces together tells you more about their proportions than a close-up of either one alone.
4mm for a more visible standalone bracelet
Try 4mm if you want the stones to read clearly when the bracelet is worn on its own. Look at the bracelet from the side as well as from above. A taller basket and prominent prongs can affect how comfortably the bracelet sits near a shirt cuff. A lower profile may be preferable if you work at a desk or wear long sleeves most days.
5mm for a statement look
At 5mm, each stone is easier to distinguish from the next in an on-wrist photo. Compare how the bracelet bends around the wrist and how the clasp sits when the hand turns. If it is a piece you plan to stack, check whether the neighboring jewelry rubs against the prongs or pushes the bracelet out of position.
Check the fit and finished width
Measure your wrist where you plan to wear the bracelet with a soft tape. Record the measurement with the tape comfortably against the skin. Then compare it with a bracelet you already like or follow the sizing guide for the exact design. Ask the seller how the length is measured. A clasp that overlaps the other end can make the usable length different from the end-to-end measurement you see on a ruler.
For a quick visual comparison, draw four parallel bands of 2, 3, 4, and 5 millimeters on paper. Hold them against your wrist at arm’s length. This gives you a sense of scale before shopping. Use the seller’s finished widths for a closer comparison once you have shortlisted products. When looking at photos, compare pieces photographed at similar distance and angle. A cropped macro image can make the smallest stone row appear much wider than it looks on the wrist.
Browse Cristiera’s tennis bracelets to compare designs. When a product photo catches your eye, note the model and ask for stone diameter, finished width, and available lengths before ordering.
Compare samples before ordering
If you are buying for a store, compare samples with the same metal finish and approximately the same length. Photograph each from above, from the side, and on a wrist with a recorded circumference. Check how the clasp closes, how the links move around the wrist, and whether the stones look even across the row. Keep the product label or model number in your sample notes so the measurements stay attached to the correct version.
For a first order, give each size a clear reason to be in the assortment. A slim option and a more prominent option can be easier to merchandise than several pieces that look almost identical in your own photos. Confirm which lengths can be reordered and ask the supplier to identify the sample that the production pieces should match. On the product page, list the stone diameter and bracelet length separately so buyers know which measurement they are choosing.
Frequently asked questions
Is 3mm or 4mm better for everyday wear?
Start with 3mm if you want a slimmer look or wear a watch on the same wrist. Try 4mm if you want the row to be more visible on its own. Compare setting height, movement, and clasp comfort before deciding.
Does 4mm mean the whole bracelet is 4mm wide?
It often refers to the stones. Ask for the finished width across the setting if you need to know how much space the bracelet takes up.
Should I size up when choosing larger stones?
Check the fit of the specific design. Link flexibility and clasp construction can affect how the same listed length feels on the wrist.
Can I compare two bracelets by total carat weight alone?
Use stone diameter and finished width to compare appearance. Ask whether the carat number is actual combined weight or diamond equivalent weight and whether both bracelets use a similar stone count.